How to: Buy a Cyclo-Cross Bike with Deniz Erkan
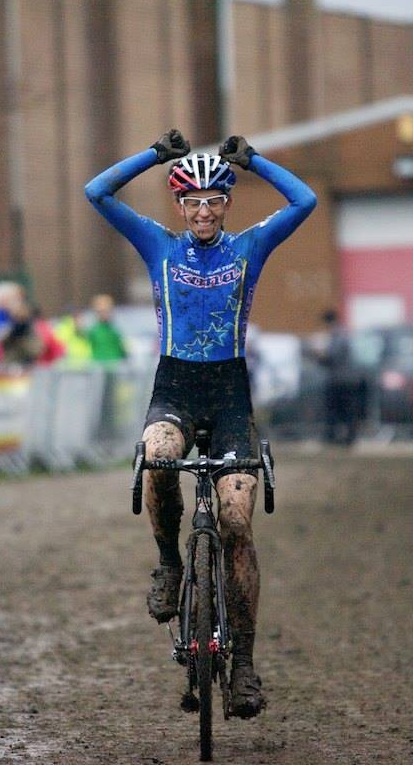
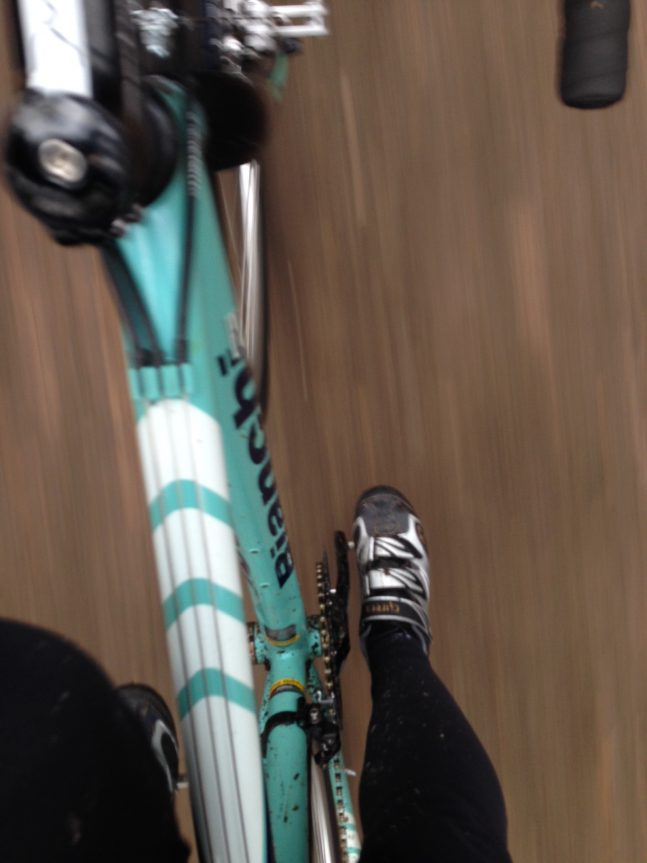
Photo courtesy of ©DenizErkan
During the excitement of GB’s Helen Wyman taking Bronze at the CX World Championships this weekend, I caught up with Deniz Erkan of Hadron Cycles on his tips to buying a cyclo-cross bike. So, what are you waiting for? Get out there, and get muddy!
First things first, set a budget, and stick to it.
You can buy a very good quality bike anywhere from £600 upwards. Between £800 and £1500 gets you a fantastic aluminum frame with high quality components, whilst upwards of £1500 can get a nice carbon frame and top end components. Decide how much you want to spend and get the best bike you can for the money.
Pick a frame material
Carbon is light, stiff and can be moulded into some very interesting shapes. However, it is more fragile, meaning an awkward crash into something hard can mean a new frame is required.
Aluminum technology has moved a long way since the earliest frames. These days you can get some really space age aluminum for very little money. It’s lighter than steel, and a lot stiffer too. It can also take a bit of punishment, so the odd crash is unlikely to destroy your pride and joy.
Steel frames are wonderfully resilient, forgiving to ride but a touch on the heavy side. There are some newer (more expensive) options like stainless steel which ride very well and are closing in on the weight of aluminum bikes, but generally good quality steel frames are heavier than other counterparts.
Titanium frames are expensive. It’s a difficult material to work with. However, they are wonderfully light, responsive and undeniably beautiful. They don’t need to be painted, and are very, very strong, meaning all but the worst of crashes are unlikely to even leave a scratch on your frame.
Component choice
Disc or cantilever? As a general rule, correctly set-up cantilever brakes are going to work just as well as poorly set up cable-actuated disc brakes. For modest budgets, don’t be afraid to go for cantilever brakes, as their stopping power is immense. If you are looking for disc brakes, then where possible, stretch to hydraulic models as these provide the full benefits of disc brake systems (minimal servicing, excellent modulation, unparalleled stopping power.) Cable driven disc systems still need cables replaced every now and then (more frequently on cross bikes) and carry the risk of cables snapping or snagging, rendering the brake useless. Some models are very good, such as the Avid BB7, however, given the choice I’d recommend an upgrade to hydraulics.
Tyres
Most new bikes sadly come with rubbish tyres. Factor in the intended use of your new cyclocross bike and set aside a budget for some good quality, puncture resistant and suitably constructed (size, tread depth, compound) tyres.
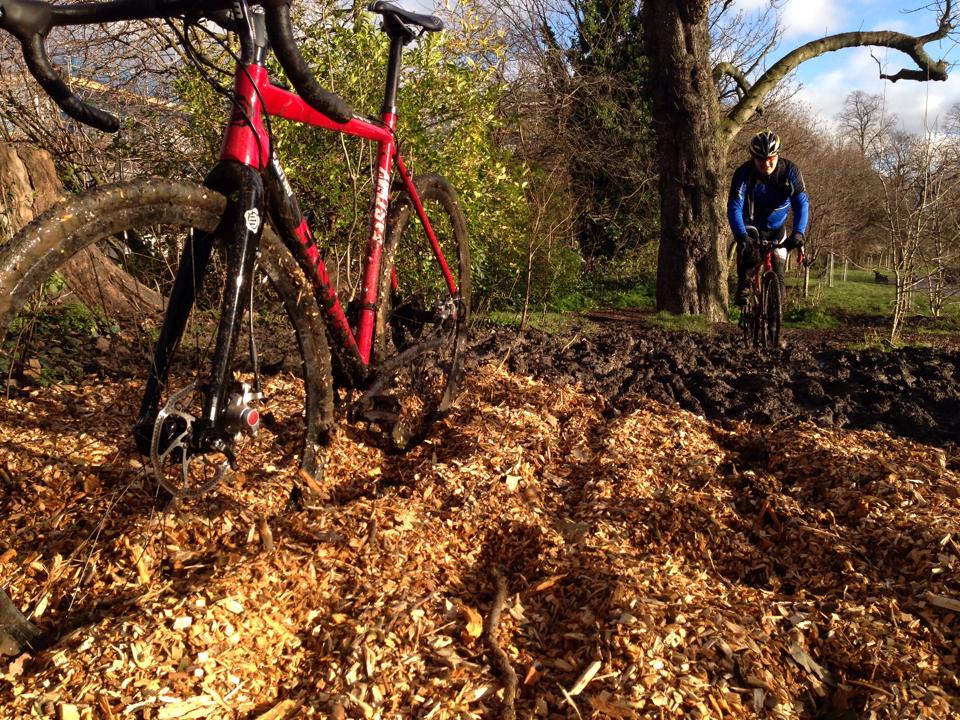
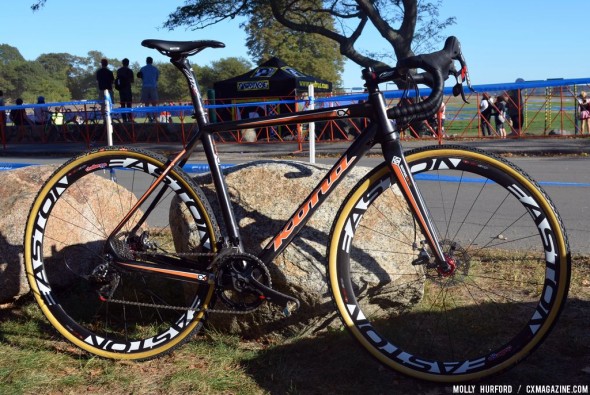
The Eastway CX2.0 in action. Photo courtesy of ©DenizErkan
Groupset
A very personal thing, choose groupset based on ergonomics and usability. Shimano offers shims to adjust lever reach for small hands, whilst SRAMs levers are all independently reach adjustable, making exact, fine-tuned set up. Campagnolo offers something similar, but the ergonomics of having to use your thumb can be off putting for some people. Try each of them out and decide what you like using the most. It’s only really at the shifters where you’ll notice a discernible difference in each of the three brands. The rest is aesthetics and specification. SRAM is usually lighter for the money, whilst Campagnolo is almost always more expensive, and difficult to get hold of. Shimano is ubiquitous, priced in the middle and performs there too.
Pedals
Whilst its entirely possible to ride off road, on road pedals, if you want to get serious about the sport, you’ll need to invest in some MTB style pedals. The difference here is that the cleat (the part of the pedal system attached to your shoe) is a lot smaller than a typical road cleat, allowing it to fit in a recessed part of your shoe. This means the shoe can have plenty of tread and walking surface to get you through the mud safely, with the cleat free of the debris.
Shimano leads the way here with the best value for money in its SPD range of pedals. Alternatives include LOOK, TIME, Crankbrothers. Pick one based on price, weight and aesthetic. They all function in a very similar way.
Accesories
What else do you need to have fun on a cross bike?
Bright lights to light up the trail, spare tubes and a pump are a must, but CO2 inflators are a big bonus when you are cold, wet and just want to get home. Take a tyre boot too (piece of old tyre cut into 1-2 inch strip) for emergency tyre repairs, or buy a set of tyre boots like the Park TB-2. It’s always surprising how much an errant branch can damage even the finest rubber. Other than that, get out there and have fun!
![]() Hadron Cycles is a local bike shop based in Islington who aim to cater for all types of cyclists and run regular weekly rides. Contact them for help in buying you CX bike.
Hadron Cycles is a local bike shop based in Islington who aim to cater for all types of cyclists and run regular weekly rides. Contact them for help in buying you CX bike.
Hayley Davies
Writer
Riding since Feb 2011 Hayley is a 30 year old female who loves adventures. If she’s not on one of her many bikes or in the water on a bodyboard/surfboard, then Hayley is probably out looking for something new to keep the adrenaline pumping!
Website: www.hjdonline.co.uk